Overview
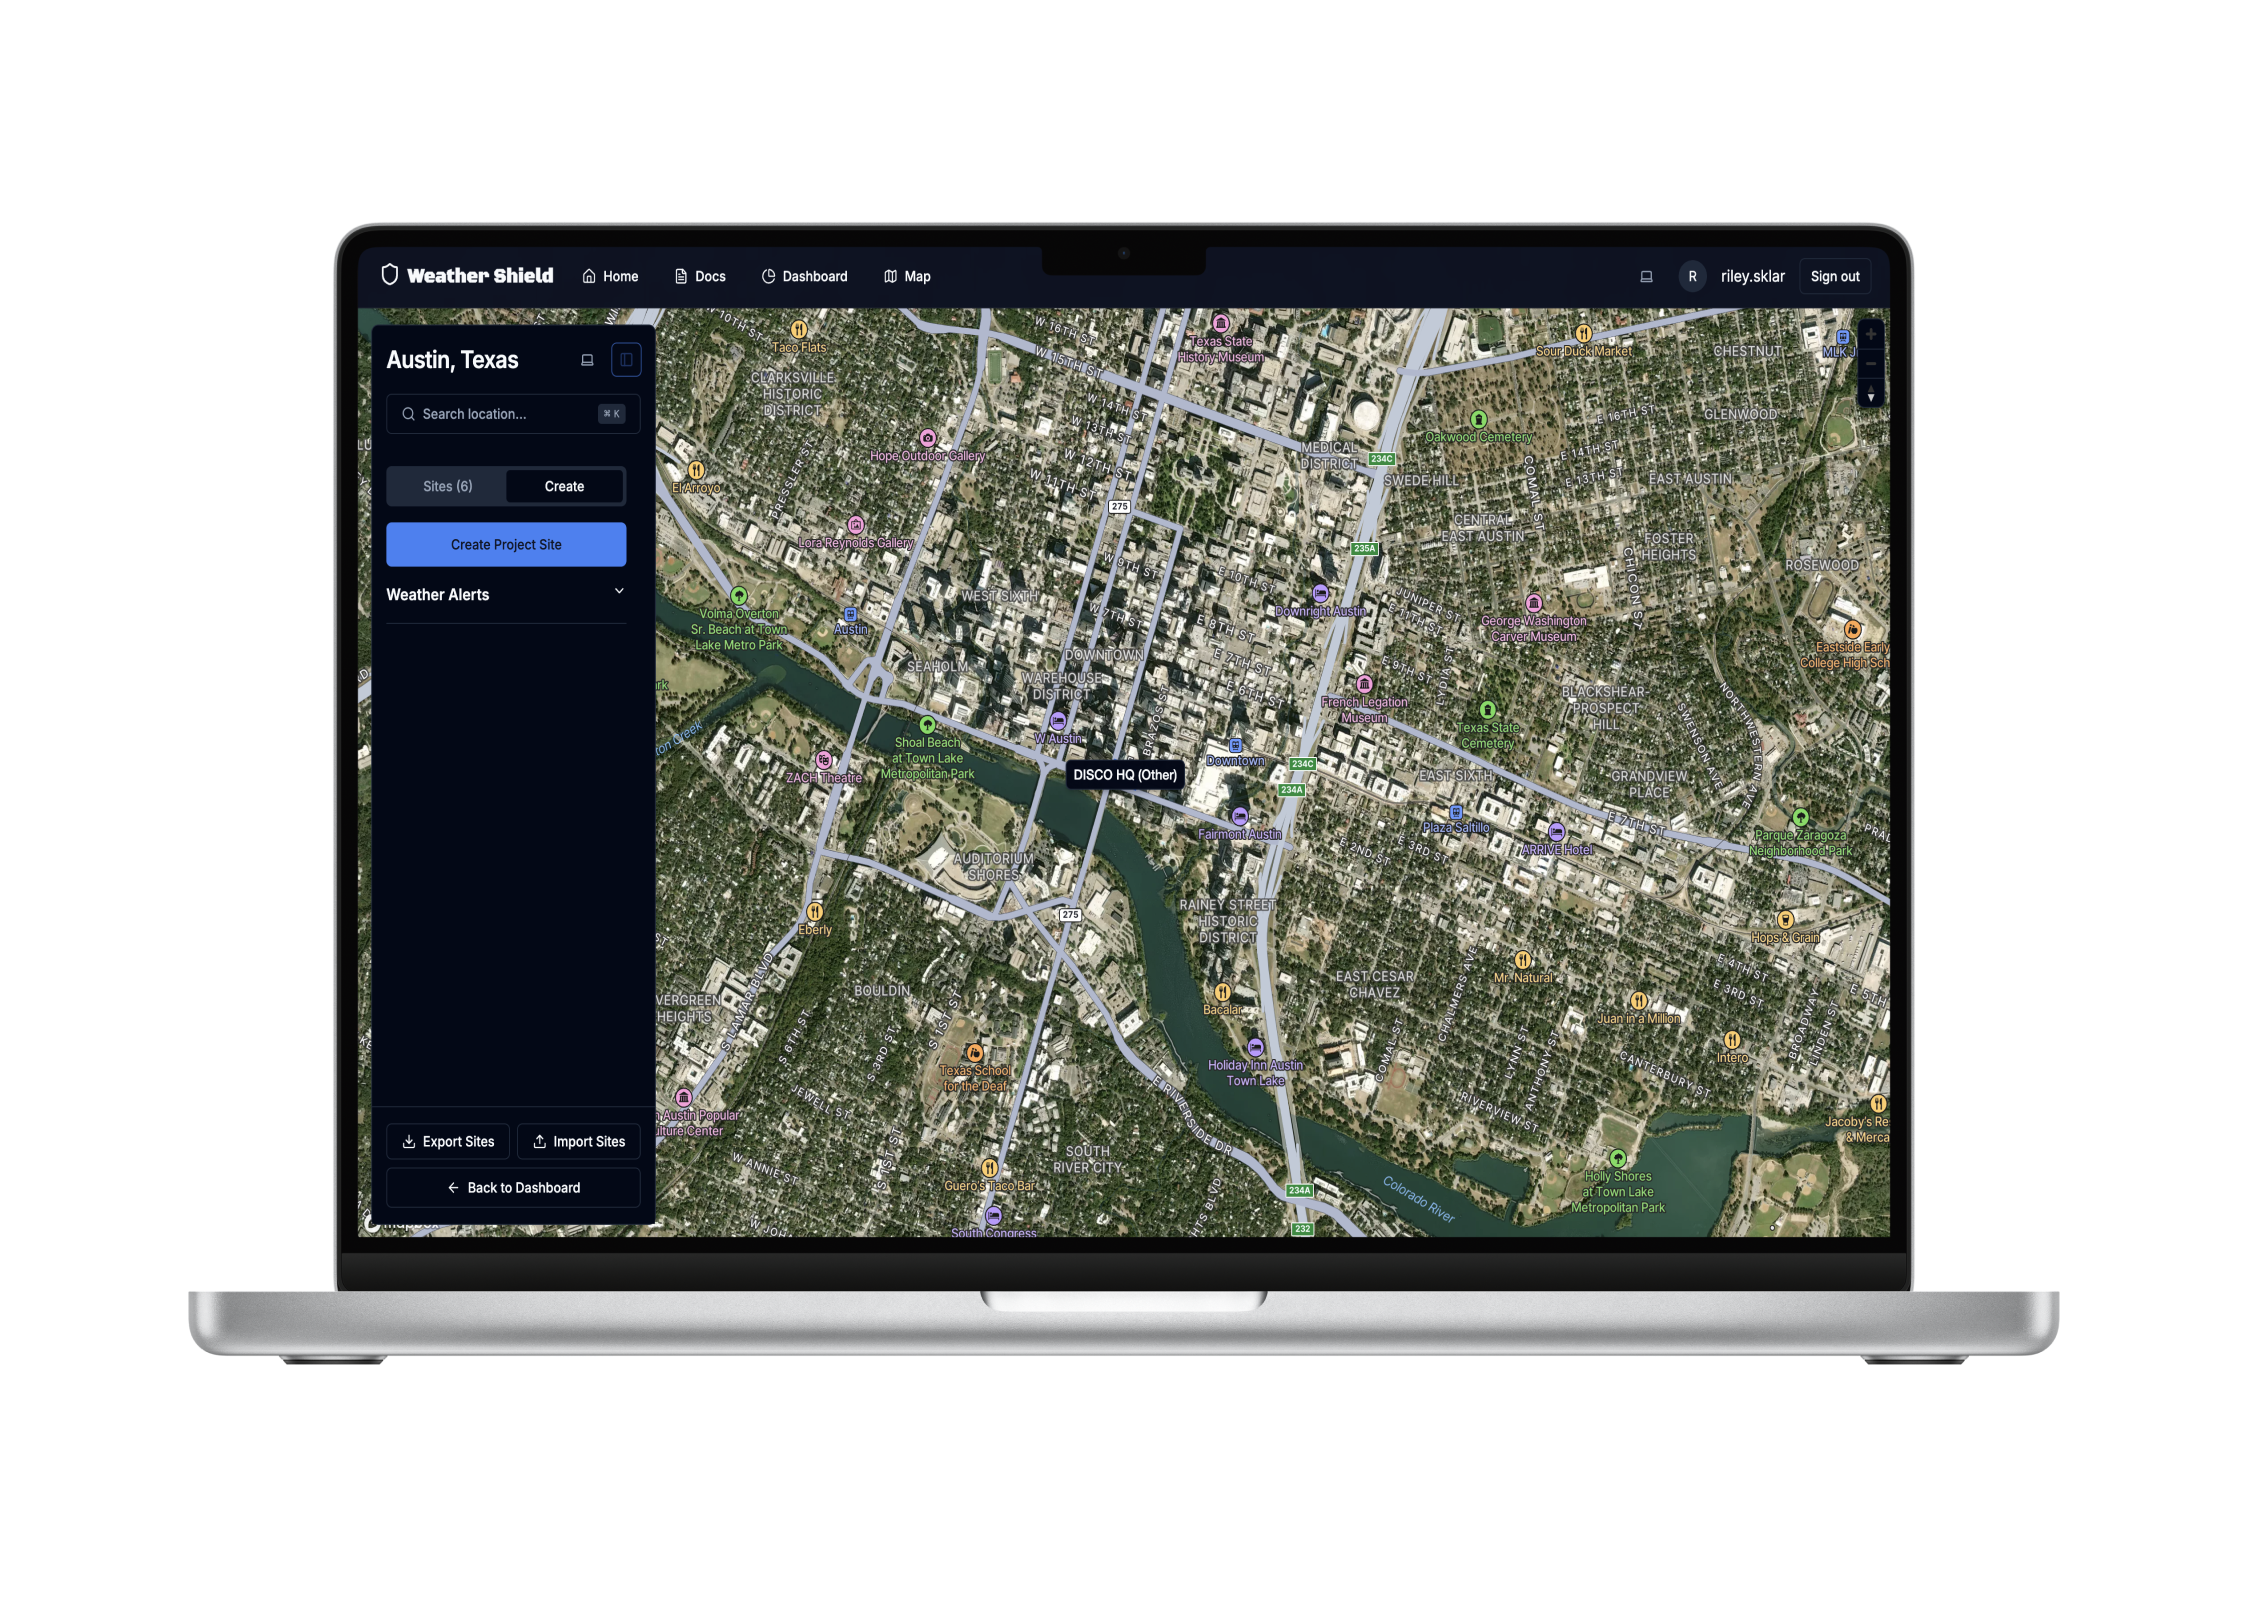
Weather Shield is a sophisticated web application designed for organizations to monitor and assess weather-related risks for construction and solar project sites across the United States. Built with Next.js 14 and TypeScript, it provides powerful tools for site management, real-time weather monitoring, and automated risk assessment.
Key Features
Project Site Management
- Create and manage multiple project sites
- Draw custom polygons on map to define site boundaries
- Categorize sites by type (Solar Array, Construction, etc.)
- Import/Export project sites as JSON
Weather Monitoring
- Real-time weather data from NOAA Weather API
- Detailed weather forecasts with temperature and wind conditions
- Interactive temperature charts
- Historical weather data tracking
Risk Assessment
- Automated risk level assessment for each site
- Weather alerts and warnings
- Site-specific risk indicators
- Real-time monitoring and updates
Interactive Dashboard & Map
- Comprehensive overview of all project sites
- Site filtering and search capabilities
- Weather history visualization
- Visual representation of site boundaries
- Weather overlay capabilities
- Location-based weather data
Technical Stack
Frontend
- Next.js 14: App Router for modern routing
- TypeScript: Type-safe development
- Tailwind CSS & shadcn/ui: Sleek, responsive design
- Framer Motion: Smooth animations
- Mapbox: Interactive mapping features
- SWR: Efficient data fetching
Backend
- Supabase:
- Real-time database capabilities
- Secure authentication system
- Row Level Security (RLS)
- NOAA Weather API:
- Comprehensive weather data integration
- Automated data processing
- Historical pattern analysis
Future Enhancements
- Real-time weather alerts integration
- Advanced risk assessment models
- Geofencing and site monitoring
Getting Started Prerequisites Node.js 18+ npm or yarn Mapbox API key NOAA Weather API access Installation
Clone the repository
git clone https://github.com/yourusername/weather-shield.git
cd weather-shield
Install dependencies
npm install
Set up environment variables
cp .env.example .env.local
Fill in your API keys and configuration in .env.local

Run the development server
npm run dev
Environment Variables
NEXT_PUBLIC_MAPBOX_TOKEN=your_mapbox_token
NEXT_PUBLIC_WEATHER_API_KEY=your_weather_api_key
DATABASE_URL=your_database_url
Deployment Deploying to Vercel Push your code to a GitHub repository Visit Vercel and sign up/login with your GitHub account Click “Add New Project” Import your GitHub repository Configure the following environment variables in Vercel’s dashboard:
NEXT_PUBLIC_SUPABASE_URL=your-supabase-project-url
NEXT_PUBLIC_SUPABASE_ANON_KEY=your-supabase-anon-key
NEXT_PUBLIC_OPENWEATHER_API_KEY=your-openweather-api-key
NEXT_PUBLIC_MAPBOX_TOKEN=your-mapbox-token
AUTH_SECRET=your-auth-secret-key
Click “Deploy” Your application will be automatically built and deployed. Vercel will provide you with a production URL where your app is accessible.
Environment Variables Setup Development: Copy .env.example to .env.local and fill in your values Production: Add the same variables in your Vercel project settings Make sure to keep your .env.local file private and never commit it to the repository Post-Deployment Checks Verify Supabase connection Test weather data fetching Confirm map functionality Check authentication flow Verify all API integrations
